|

|

|

|

|

|

|

|

|

|

|

|

|

|

|

|
Hover your mouse over the
navigation buttons above for
brief page contents.
Pages marked > give access to
one or more subsidiary pages -
see also Site Map at bottom
of WELCOME page.
|
|
|
|
|
|
|
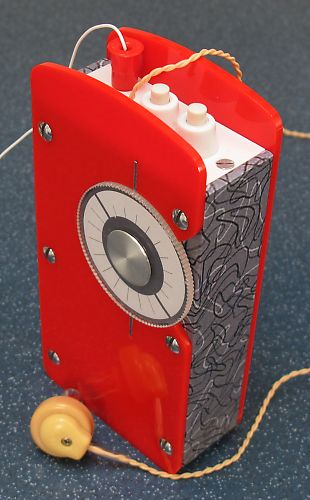
My Focus radio, front view.
|
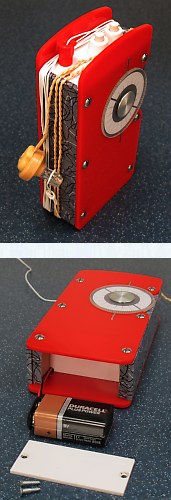
Top: stowage of leads.
Bottom: battery access.
|
Construction
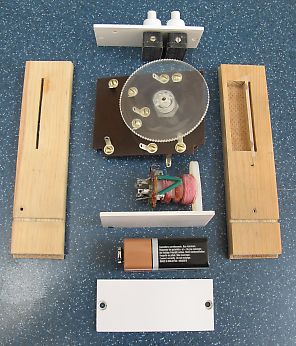
The idea for the case was sparked by a solid-dielectric tuning capacitor with a spindle
tapped for a fixing screw, and a companion clear plastic knob with a milled edge.
(These came from a kit radio my brother bought in the early 1960s. He failed to
get the kit to work, and that cured him of radio construction for life!)
The intention was to build a case that a reasonably competent “Mr 1959” do-it-yourselfer
might have built for his lad, in imitation of the stylish transistor sets of the day.
You will guess that this project was almost as much about developing the idea for
the case as about the radio itself. Mostly I have used only materials and methods
that would have been available then. (I cheated a bit here and there, but I’ll own up
as I go.) Size was to be as small as possible using the specified components.
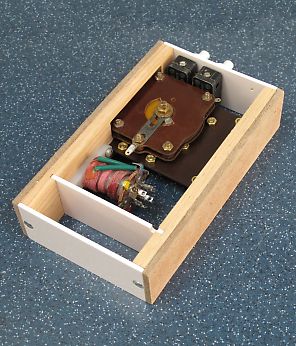
My case is 2 7/8 x 5 3/4 x 1 3/8 inches overall, and consists of:
* Front and rear panels, in 3mm Perspex - see pictures above. (I considered painted
plywood for these, and indeed a nice case could be made this way, but as I used to
buy Perspex offcuts back then from a local sign maker’s factory, I allowed myself some
bright red Perspex for this case.) The front and rear panels are oversize at top
and bottom The projections allow the radio to stand upright steadily, protect the
switches, and serve as a bobbin to stow the earpiece and aerial leads. The front
panel has a circular hole to clear the tuning knob; this hole is cut through to the
edge to provide a thumb recess. I cut slivers from a stainless steel erasing
shield to form two bright index marks above and below the knob. The front and
rear panels are fixed with chrome raised-head screws which form decorative elements.
* The tuning knob has a paper dial showing through it - see pictures above.
(I confess – I generated this on my PC. “Mr 1959” could have produced it with a
ruling pen, Indian ink and a steady hand.) The knob fixing screw is concealed
behind an aluminium disc. This was temporarily stuck to the end of a piece of
dowel and spun in the electric drill to apply the brushed finish with a fine wire brush.
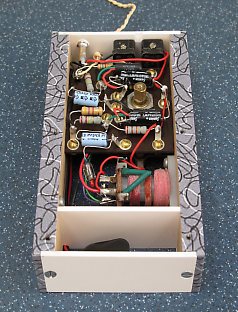
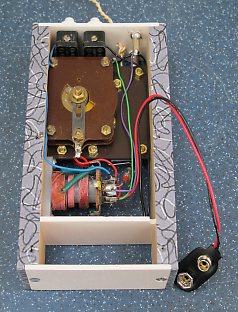
* Two softwood side-pieces, slotted through to receive the circuit board - see pictures
below for these and other case parts. The right-hand side-piece is also slotted to
receive the edge of the tuning capacitor, allowing the edge of the knob to line up with
the outside of the case. For this piece, I cut a single large through hole and
divided it with a piece of lolly-stick glued in. The slots on both side pieces
are closed off on the outside by pieces of hardboard glued in place. Once assembly
had been tried, I covered the side pieces in Fablon. (OK, it's fake Fablon - I
generated a 1950s-style pattern on the PC, printed it off, covered the print with matt
plastic film, and applied spray adhesive to the back.)
|